Looking for a way to jazz up your walls without buying any new art pieces?
We've got the perfect solution – a DIY collage wall! There are so many great spots in your home for a collage wall: above your bed, around your desk or workspace, adorning your living room walls... the possibilities are endless.
Read on to see our tips and tricks for making your own collage wall.
1. Pick a color scheme
Deciding on a color scheme before you begin your collage wall is a good idea. Maybe you'd like the colors to compliment your room, or clash with it. Or perhaps you'd like to stick to neutrals or monochrome. If you don't have a preference, you can just roll with a rainbow color scheme and get to work!
2. Mix sizes
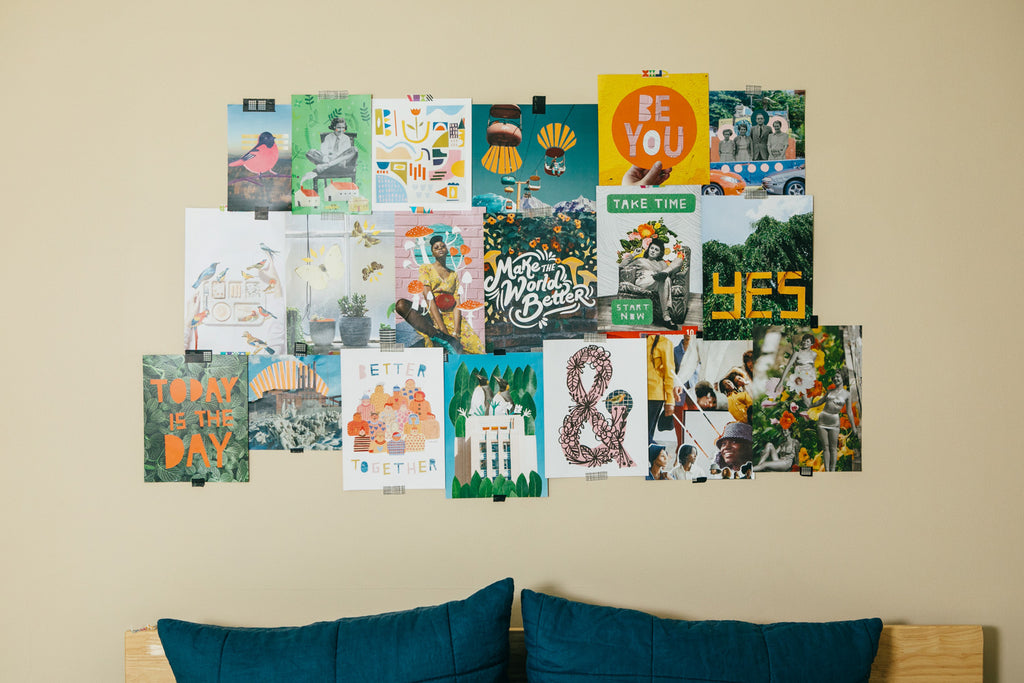
As seasoned collage-based decorators, we'd recommend not hanging your collages in an exact grid. It’ll be hard to get it exactly right, and your walls might be crooked. Embrace the random, mixed-up nature of it all and go with offset hanging.
3. Take advantage of mixing media
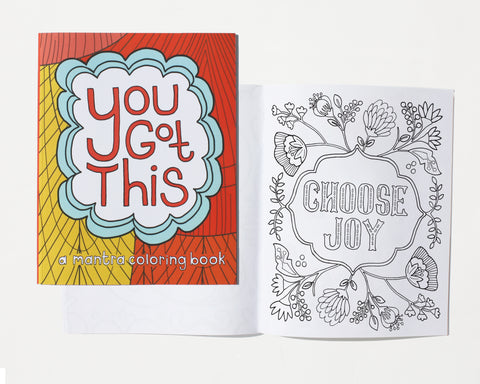
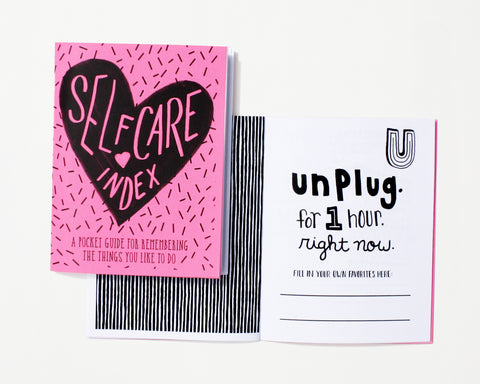
Of course we highly recommend starting with our Collage Kit as your base. Outside of that, it's fun to add in pages from other magazines, photos, fancy paper, patterned tape, and more. Let your imagination run wild here.
4. Adhere your masterpiece
Now that you've decided on all the pieces and parts of your collage wall, it's time to mount it. We love going rogue with different washi tapes, but if you'd like a cleaner look, try Scotch mounting squares (cut them in half) or glue dots.

We'd love to hear your feedback on our new Collage Kit Magazine! Reach out on Instagram and let us know what you think.